Doll wigs made from brushed acrylic yarn
Yes, it is possible, very straightforward and fun to make doll wigs from brushed acrylic yarn.
Not only is this an effective stashbuster project, if you wish to use up left-overs and odd bits of acrylic yarn, but - as I explained in a previous post on doll customisation - I believe, this is an excellent project for those wishing to get started with doll customisation.
 |
| OOAK Custom Monster High Doll Wig in Progress (made with brushed acrylic yarn) |
Since last posting on custom doll wigs, I have completed another Monster High doll wig and what follows below are a few hints and tips for those wishing to make their own doll wigs with brushed acrylic yarn.
Without further ado, let's start talking OOAK (one of a kind) custom doll yarn wigs.
 |
| OOAK Custom Monster High Doll Wig in Progress (made with brushed acrylic yarn) |
 |
| Monster High OOAK Custom Acrylic Yarn Wig |
Acrylic Yarn Wig - How to
- Removing the doll's factory hair
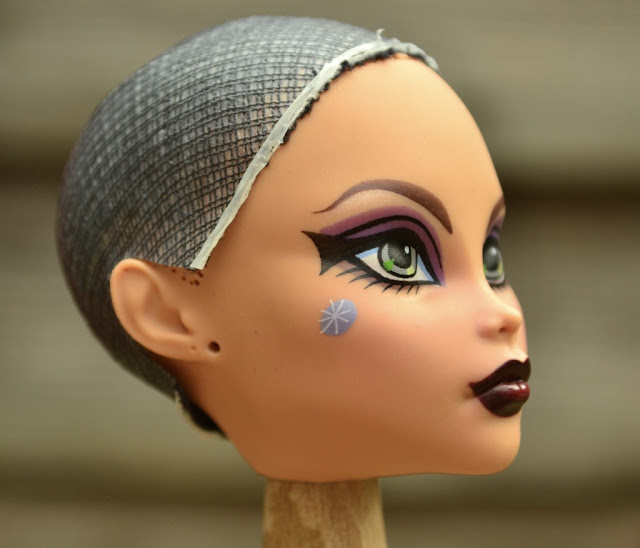
Removing the hair from and cleaning the doll's head is by far one of the most time-consuming steps in the process. I managed to 'be-head' and 'de-hair' my Monster High with the help of warm water and a pair of tweezers, which I used to remove the glue from the inside of her scalp.
This process involves a lot of scraping against the inside of the doll's scalp and should be done with a great deal of patience. Other doll models may behave differently, and I would advise not to apply too much force, giving this process time. Once I had all the hair successfully pulled from the scalp of my Monster High, I proceeded to make a simple wig cap.
 |
| Monster High Doll Wig Cap |
I have seen a number of ways, in which customisers make wig caps, utilising both silicon or hot glue guns. Yet, I decided to opt for the simplest route, requiring an old pair of tights, a rubber band and several (at least three) applications of PVA glue.
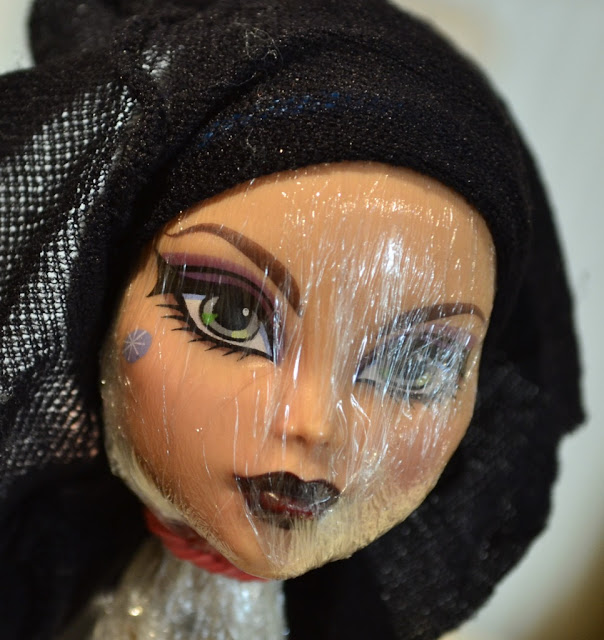
Before making the cap, ensure the doll's head is wrapped in a thin layer of cling film. Proceed to cover the head with the tights, pull them neatly over the doll's head and secure the fabric with a rubber band underneath the ears. The rubber band will serve as a guide when applying the glue to the head.
 |
| Monster High OOAK Custom Doll Wig Cap |
I chose the most easily available, run of the mill PVA glue, which is stocked in my local Tesco's. Though there are superior brands available online, it did the job just about fine, even though its consistency is clearly more on the lumpy side.
Next time, I will opt for another brand with a smoother liquid. Especially when it comes to preparing the yarn wefts, you will want to make use of a glue that is as smooth as possible when brushed onto the wefts. This one was just a bit too lumpy for my liking.
 |
| PVA Glue by County Stationery |
I applied four coats of PVA glue to make the cap, letting the glue dry completely between applications. This resulted in a sturdy, yet flexible cap, fitting the doll's head like a glove. Waiting for four glue applications to dry may sound somewhat lengthy, but it's vital to ensure that the glue is dried completely before proceeding to cut the wig to size. When the wig is ready, you will need to cut away the excess fabric, using the rubber band as a guide. The rubber band itself will usually peel off or can be carefully removed by hand. You will also need to cut out the area where the doll's ears are located. I used the outline of the ears in the dried glue as a guide, but you may wish to trace the outline with a marker pen when the cap is still on the doll's head.
 |
| Monster High OOAK Custom Doll Wig Cap |
 |
| Monster High OOAK Custom Doll Wig Cap |
- Making acrylic yarn wefts and reducing waste
A good-looking wig starts with well-made yarn wefts. To ensure the wefts are uniform in size, the yarn should be cut into equal strands, each between 19cm and 25cm long. Bulky acrylic works best.
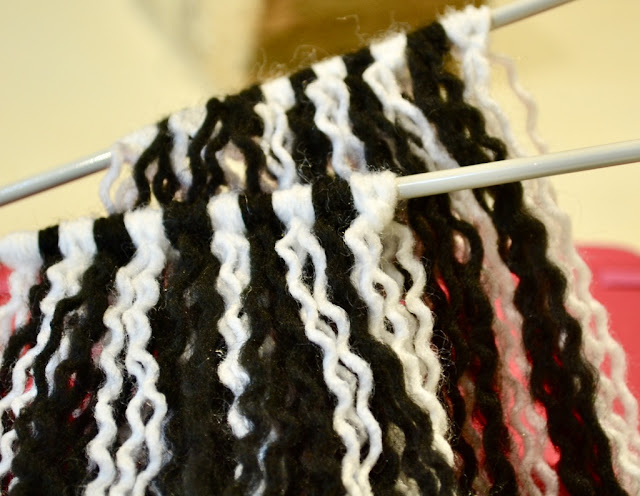
Before brushing out the yarn, I separated the individuals strands of the yarn. This makes the process of brushing a lot easier and, I feel, reduces waste. I secured an equal number of strands on a knitting needle and proceeded to brush these with a carder.
 |
| Acrylic Yarn cut for Yarn Wefts |
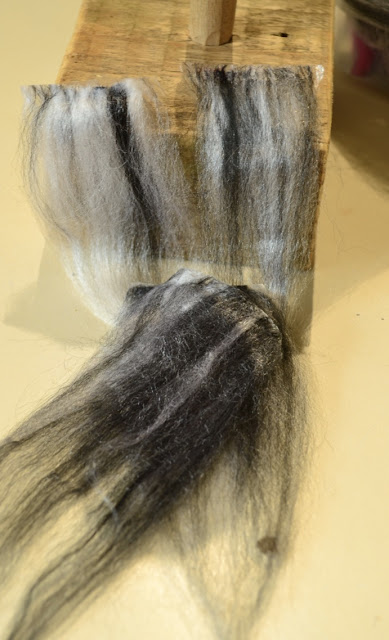
When I made my first yarn wig I was overwhelmed by the amount of waste when brushing out the yarn. And at first I was reluctant to really apply the force necessary to brush out the yarn properly: Firstly, I was afraid that I would destroy all of the yarn and, secondly, I was horrified at the waste I was producing in the process. (The below photo shows the waste acrylic from just one weft.)
 |
| Waste Acrylic Yarn when brushing out acrylic yarn |
Unfortunately, the wastage cannot be helped. There will be a lot of waste. (More on that and how to utilise the waste acrylic for the wig below.) Yet, once you start brushing the yarn, you will not destroy the individual strands of yarn completely. At some point in the process, you will end up with a yarn weft that resembles the picture below.
 |
| Acrylic yarn weft, brushed before straightening |
- Minimising waste when making acrylic yarn wefts
In order to minimise waste, I tried to make a weft out of the waste acrylic by simply brushing the yarn with the carder for a second time. I'm pleased to report that this method works and it is possible to make small wefts out of the waste acrylic. The 'waste wefts' are shown in the following two images both before and after heat treatment.
These smaller, 'waste wefts' will look inferior when compared to the others, but can still be utilised in the less visible bottom layers of the wig, providing added bulk.
 |
| Yarn wefts made from waste acrylic yarn (before straightening) |
 |
| Yarn wefts made from waste acrylic fluff after straightening (used for lower layers of wig) |
For an overall smooth appearance, the wefts should be heat treated with a hair straightener. Individual results will vary, depending on how much heat is applied and for how long, but I would recommend starting off with the lowest setting and regulating up.
 |
| Yarn Weft after straightening |
When applying PVA glue to the wefts, I ensure that a small amount of glue equal to the length of the weft is applied to a plastic sheet (multi-punched pocket or other plastic surface). I place the weft into this area, pressing it firmly into the glue. I then proceed to deposit a very small amount of glue over the top ends of the wefts and carefully work the glue into the acrylic with a brush.
In this step it's important to use just the right amount of glue. Too little and the weft will not be held together. Too much glue will result in the top of the weft being too stiff and too bulky, making it harder to fit it onto the wig cap. I let the glue dry overnight, ensuring that the wefts can be easily removed from the plastic.
The scariest part in the whole process is assembling the wig itself. The challenge here is to place the wefts in such a way that the glued ends are not visible. How you assemble the wefts on the cap largely depends on the look you want to achieve, but I would recommend starting off with the front of the head working your way round the entire wig once, placing smaller wefts (cut to size) around the ear area and then proceeding to work your way up from the back.
 |
| Arranging the yarn wefts on the wig cap |
When the wig is completed and all wefts have been glued, I keep styling to a minimum and ensure that the wig is left untouched for at least 12 hours, giving the glue a chance to dry. As PVA glue is water soluble, all contact with water should be avoided.
 |
| OOAK Monster High Custom Wig |
 |
| Monster High OOAK Custom Doll Wig |
 |
| Monster High Doll Custom Acrylic Yarn Wig |
 |
| Monster High Doll Custom Acrylic Yarn Wig |


